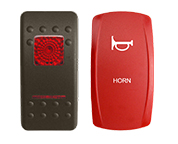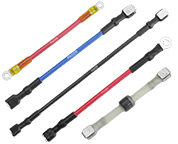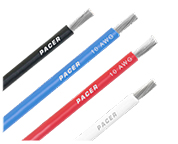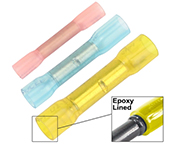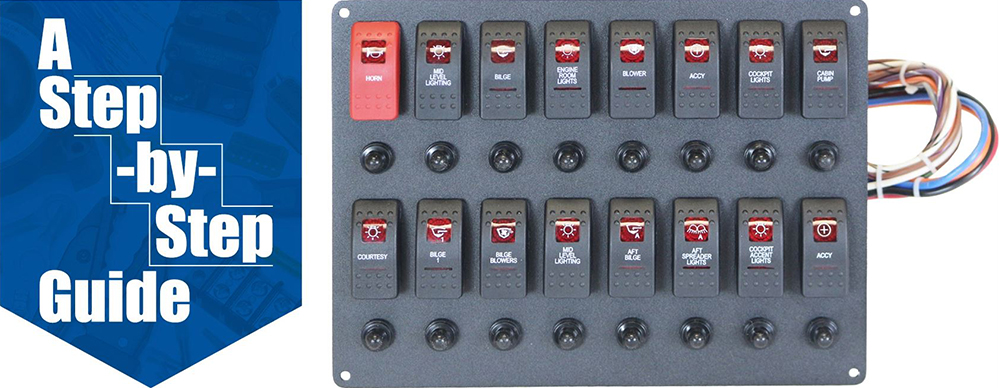
Whether this is your first panel project or you're a seasoned veteran, this guide will cover some things you may have not considered. We're going to look at some of the more important aspects of a panel project in a step by step process. Not only will replacing your own panel you save money, but you'll also have the satisfaction of knowing that you did it with your own hands and effort.
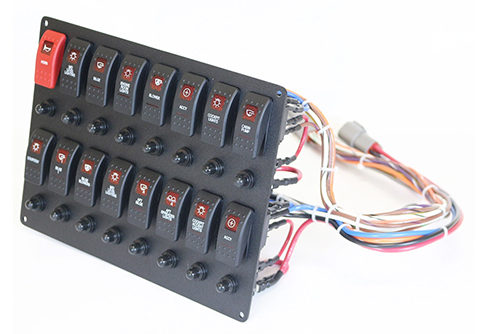
The first thing you need to decide on is the size and function of your panel. For this guide, we'll be building a sixteen switch main dash panel. Don't worry if your panel is a different size. All the steps and topics we will cover will carry over to projects of other sizes. One important aspect of any project is making sure that you have all the parts and tools ready before you start. Whether you need wire connectors, crimp connectors, or any other electrical connector types. Otherwise you'll be putting your project on hold while you wait for parts and tools to arrive. Before you choose your parts, you need to make a choice. Do you save money now and buy cheaper parts or do you go for quality?
Tools
Parts

Knowledge
With over four decades in the marine industry we can tell you with certainty; "If you skimp on parts now, you will definitely pay for it later." Build your panel to last. In order to do that you need quality parts. If you download the checklist below, you'll be able to click on the individual parts to be taken to those products. Could we have made this any easier? Now let's look at that list.

What You'll Need:
Click HERE for an Easy to Follow Downloadable Version of this List.
Project Schedule
Each week this month we are going dive deeper and deeper into the steps behind the process. This will finally culminate in a step-by-step guide showing you everything you need to do from start to finish.
