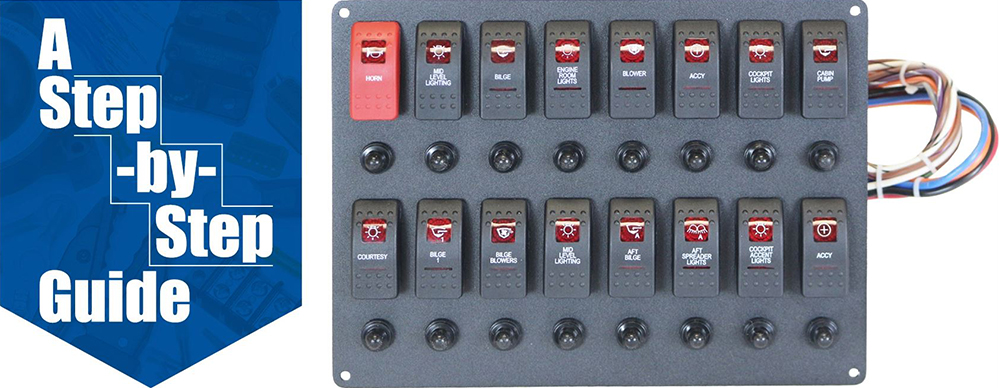
Week 3 - Installing Switches and Switch Covers
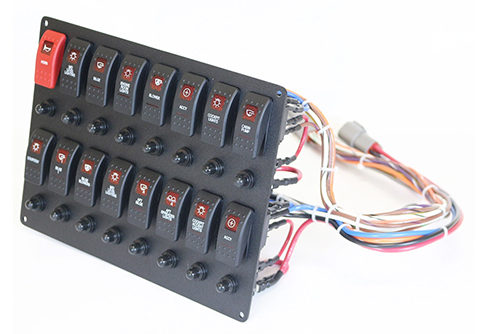
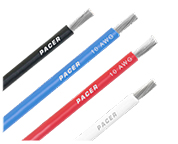
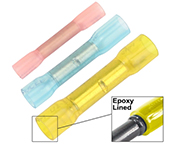
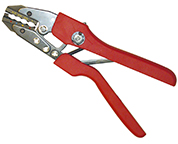
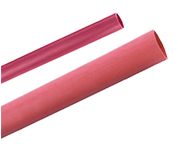
In this fast-paced world, it's important to take time for the small things. You can use these moments to build memories that can last a lifetime. This week we will be looking at replacing switches and everyone’s favorite, switch covers. There are a variety of reasons to replace switches and switch covers, but often, it’s to enhance the visual appeal of your panel. As always the first step is collecting the parts you need to complete the task. Pay attention to the types of crimp connectors and electrical connectors we will be working with. Don't forget that we are offering 10% OFF the pieces you'll need to get this project done.
*Note: If you intend to use a different type of switch, you'll find all the styles you could ever need with Pacer. Take a look HERE to find the switch that is right for your needs.

What You'll Need:
Video Tutorial
The video you see here is a simplistic version of the steps you'll need to take to correctly install rocker switches as well as switch covers. The point is to get you the information as quickly as possible.
Below this video we have outlined the steps in greater detail. Now you can easily scroll to the step you need and get to the part you are interested in.
Step 1: Gather the Parts You'll Need

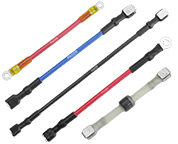
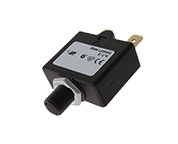
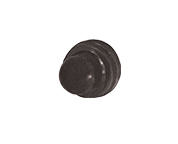
Gathering the proper parts is easier than you think. Make sure that you only use high quality parts or you'll end up having to replace or repair them sooner than you'd like. The list above gives you everything you will need for this project. We have linked the images to the product pages so all you'll need to do is click the picture to be taken to the item. Don't forget to apply your 10% off on the items that are eligible.

Step 2: Remove Existing Switch Covers

Removing the switch covers is a simple task, given you have the proper tool. Some people recommend using a screwdriver, but this can lead to damage to the switch body or cover. The tool is designed to easily slide under the switch cover and release it with little effort. Be sure to keep your thumb over the switch cover as when it is released, it can be projected outward. Your thumb will help to keep it in place.

Step 3: Remove Existing Switch Bodies
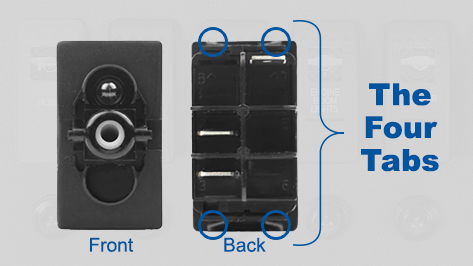
Removing switch bodies can be somewhat tricky. There are four corner tabs on the underside of the switch body that hold it snugly in place. One method you can use is to turn your panel over, face down on a safe surface, and find the tabs. Next, you'll want to depress two of the tabs on one side of the switch body, either the top or the bottom. You can now push that side of the switch free. Repeat the process on the other side being careful not to let either side snap back into place. Once you have both sides free, you can gently work the switch back and forth until it comes out.

Step 4: Install New Switches
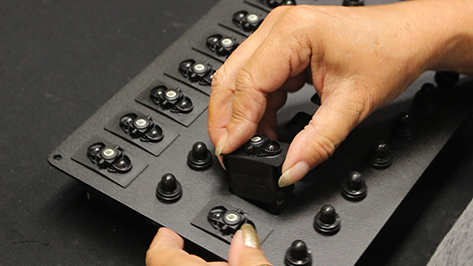
Now that all the hard parts are out of the way, the rest is clear sailing. Take your new rocker switches and line them up with the opening. This next part is important. Make sure that the switch body is oriented properly. What I mean by that is each switch has a top and bottom. The only way to know is to pay attention to the connection points on the back of the switch body. The teeth, as I will call them, connect to the electrical system in a specific manner. The last thing you want to do is to install the switch upside down and have to remove it and reinstall it.

Step 5: Snap in New Switch Covers

Each switch is specific to its purpose. Some are single-pole, others may be double pole, momentary, or both. The switch covers will need to be applied to the specific switch body they are for. I know that sounds obvious, but it is important. You don't want to put a bilge pump switch cover on the wrong switch body. Otherwise, you'll make a huge headache for yourself. To install, simply line up the switch cover post with the opening on the switch body and depress both sides until they click into place. Now, make sure you test the switch so it is functioning the way you intend it to.

Step 6: Install Wire Jumpers
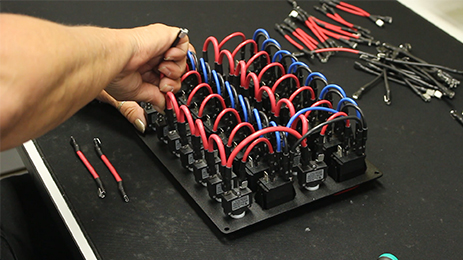
Now, the next step is to install wire jumpers. Jumpers are made to quickly connect to the tabs on the back of the switches. To install, simply align the opening on the jumper to the tab on the switch. Just press inward until it snaps into place. You can even piggyback some jumpers off of others. Wire jumpers are designed to save you time and money. This way, you won't have to stock a large inventory of wire, terminals, heat shrink, and more. What's more, buying pre-made jumpers saves you all the trouble involved with manufacturing them. They carry the most useful electrical wire connectors so that they are easier to work with.

Step 7: Use Cable Ties to Secure Wires
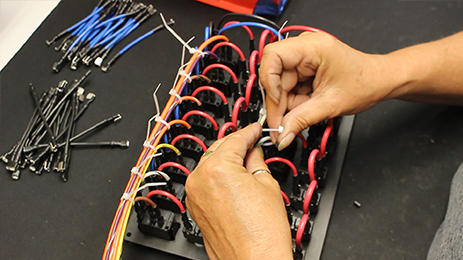
Properly used cable ties are the easiest and cleanest way to secure your wires behind your panel. Additionally, they beautify the backside of the panel by neatly collecting the wires together. Cable ties are extremely easy to use. Once you have the wires organized in the way you want, you'll want to slide the tongue of the cable tie under and around the wire bundle. Now, just push the tongue of the cable tie through the opening in the head of the tie until you hear a click. All that's left to do is pull the tongue until the wire bundle is securely held in place.

SUCCESS: Correctly Installed Switches and Covers

So you're done with the switch body and switch cover installation part of this project. Be sure to store the panel and all your parts and tools properly in order to protect them. See you next week when we wrap up this project and walk you through the steps to finish your new panel.

Products You'll Need for the Rest of the Project:
Here is the list of the products you will need for the rest of this project. Each if these is fully linked to take you directly to the products. Don't forget to use your 10% OFF on applicable items.

Project Schedule
