Related Products
Product Description
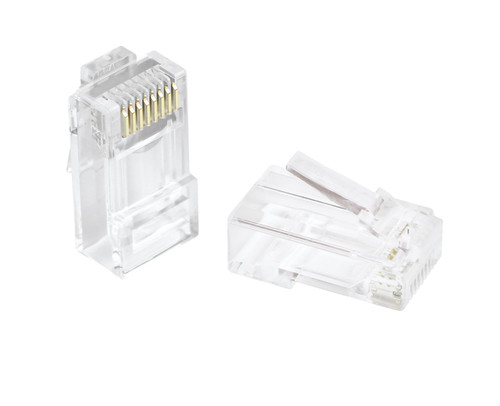
CAT6 RJ-45 modular plugs are built to support CAT 6 installations. This means that they meet the TIA/EIA-568-B.2 requirements for NEXT (Near End Cross Talk) as well as Return Loss. The unique 3-piece design of this plug includes a conductor liner. This liner allows for conductors to be ordered while held in the proper position. This is important for insertion into the plug body. The three-piece design offers an easier assembly while maintaining the highest level of performance possible. In doing so, it passes CAT6 cabling standards and requirements in channel testing.
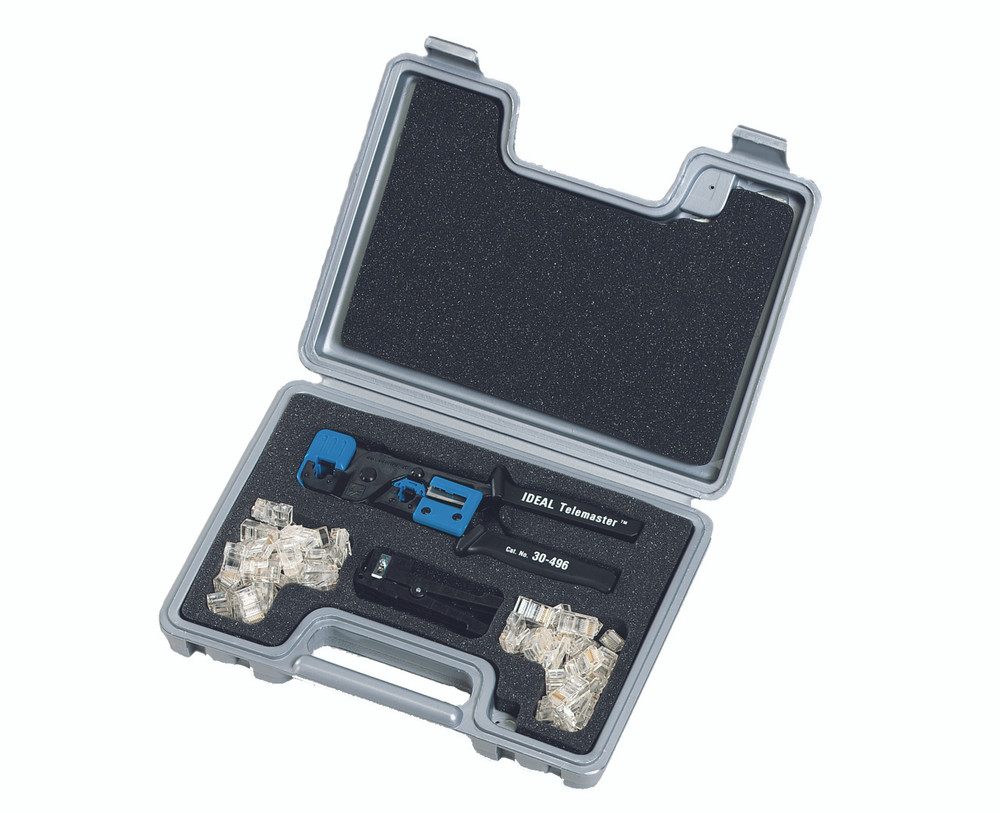
How do you crimp CAT6 RJ-45 modular plugs? These plugs are crimped using standard RJ-45 crimp nests. Always be sure to use the proper tool when installing CAT6 RJ-45 modular plugs.
What types of wires should you use with these plugs? CAT6 RJ-45 modular plugs are suitable for solid or stranded, 23-24 AWG conductors.
How to wire a 10BaseT or 100BaseT connector with Category 5 cable and RJ45 connectors using USOC 568B Wiring Standards
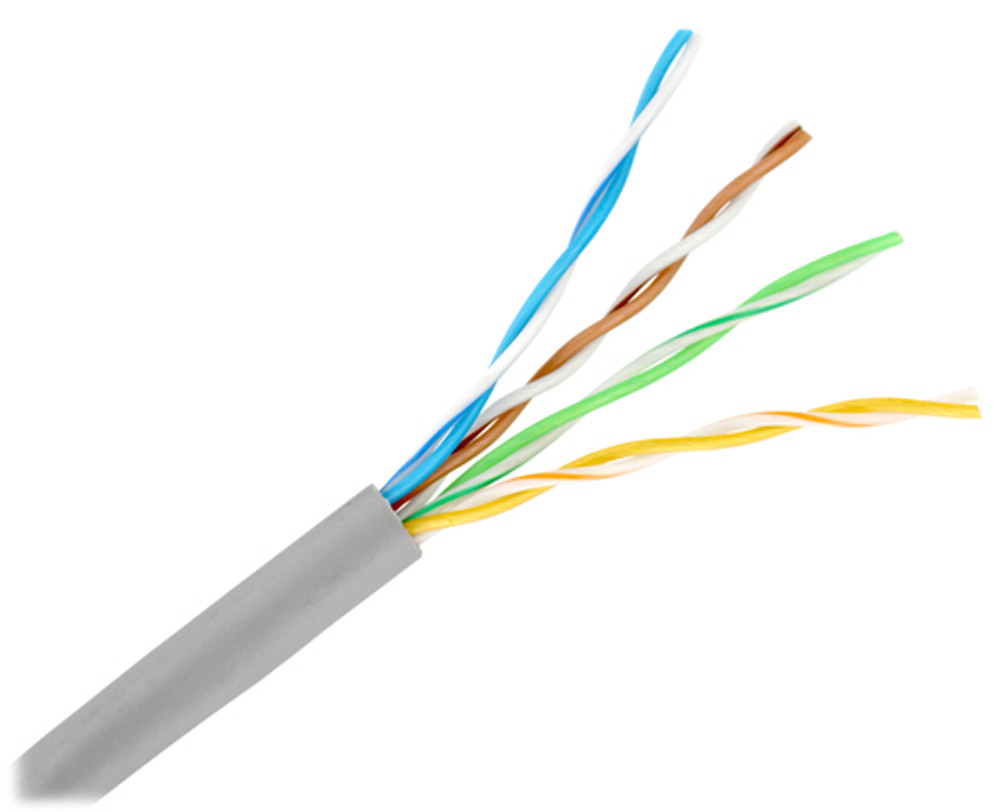
- Cut the outer jacket of the wire about 1.5” to 2” from the end. This will give you room to work with the wire pairs. Separate the pairs and align them in the order shown above. Begin flattening the wires into a “ribbon” so that it will easily slip into the connector and into the individual channeled areas.
- Once you have all the wires aligned and ready to insert, you must trim them to approximately 1/2” in order to have as little “untwisted” wire in the connection as possible. Category 5 specifications require a certain number of twists per inch and even the connector counts!
- Insert the wires into the connector making sure that each wire goes into its appropriate “channel” and extends all the way to the end of the connector underneath the gold crimping connectors. Sometimes you can look at the end of the connector to see the copper wires if you are using solid copper cable. If the wires do not extend to the end of the connector, the crimp may not make contact.
- Press the cable and the jacket into the connector firmly so that the jacket will be crimped by the plastic wedge near the rear of the connector, insert it into your crimping tool and crimp the cable. RE-CRIMP the cable to make sure all connections are made.
- Repeat steps 1 thru 4 for the other end of the cable for a standard Ethernet cable.
Features:
- Robust bayonet style lock
- Superior strain relief
- Easy plug termination
- Simple error-free mating
Product Reviews
Write ReviewThis product hasn't received any reviews yet. Be the first to review this product!


